Upload Utility
Introduction
The Upload Utility allows batch files containing member information from a Windows machine to be uploaded to MemberCheck and automatically scanned without accessing the MemberCheck site.
Once a file is successfully processed, the scan results can be viewed in the Batch Scan History section of the MemberCheck site via a direct link from the Upload Utility. Reports of matched results are directly accessible within the Utility.
Utility supports PEP & Sanction screening for Members
This Utility only supports PEP & Sanction screening for members. It does not support ID Verification or Company scans.
Enquiries
If you would like to use this Utility for your batch scanning, please get in contact with your Account Manager or sales@membercheck.com
This section provides a guide to the installation, setting up and running of the MemberCheck Upload Utility, available on Windows.
Installation
The MemberCheck Upload Utility installation files are provided in the file, MemberCheck.Upload.zip. The file name may contain a version number e.g. MemberCheck.Upload_7.2.0.1.zip.
- Extract the files from
MemberCheck.Upload.zip - The setup files are in two folders:
x86folder for 32-bit Windows installationsx64folder for 64-bit Windows installations
- Open the appropriate folder and run
setup.exe The MemberCheck Upload Setup Wizard is displayed
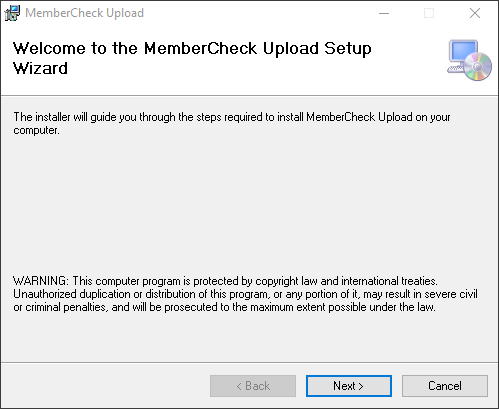
Click Next > to proceed to Select Installation Folder
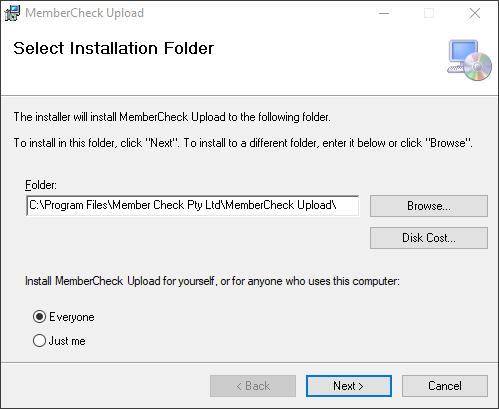
Accept the default Folder and click Next > to proceed to MemberCheck Site Information
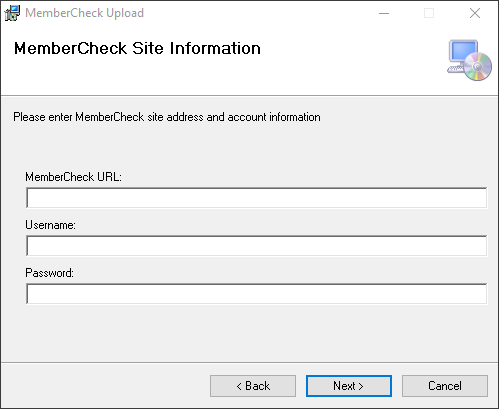
Enter the MemberCheck URL, Username and Password, provided by MemberCheck Support, and click Next > to proceed to Working Directory Information
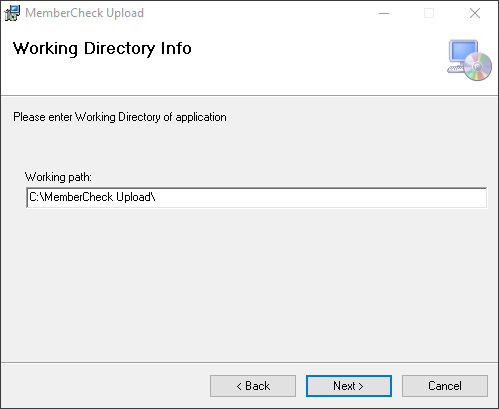
Accept the default Working path and click Next > proceed to Confirm installation
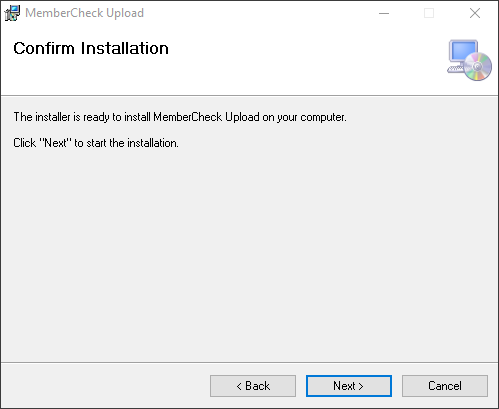
Click Next > to start the installation
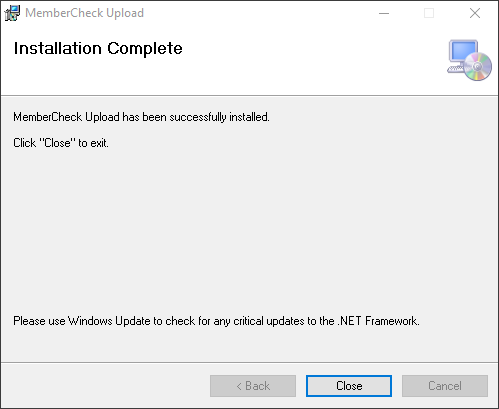
Once the installation is complete, click Close.
Windows Permissions
If prompted by Windows to allow changes to be made to your device, confirm and allow the installation to run.
Configuration
Once the Utility is installed, proceed to check and configure the organisation batch scan settings.
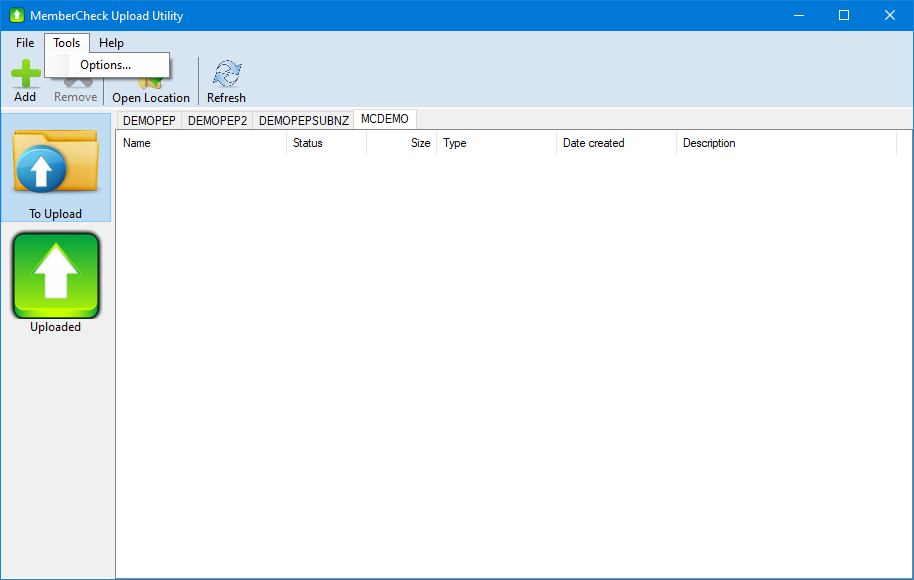
From the Windows Start button, search for MemberCheck Upload and run the MemberCheck Upload Utility.
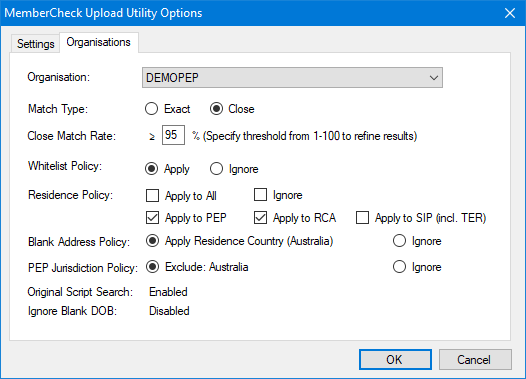
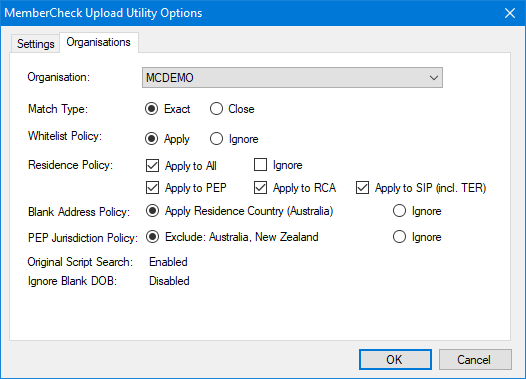
The MemberCheck Upload Utility Options window is displayed, with the Organisation tab selected.
If you have multiple sub-organisations assigned to your account, you may see multiple organisation tabs.
Select from the menu Tools > Options
Select the Organisations tab
When the Upload Utility is first installed, the scan parameter settings on the Organisations tab reflect those in the Organisation Settings on the MemberCheck site.
You can define the scan parameters to be used for batch scans run using the Upload Utility for any of the scan parameters that are set as
User Definedin the Organisation Settings on the MemberCheck site.Upload Utility settings
Changes you make here to the Upload Utility settings will not impact the default scan parameter settings on the MemberCheck site.
You can define scan parameters for each organisation.
Click OK.
The MemberCheck Upload Utility configuration is complete.
View new sub-organisations in the Utility
If at a later date you create a new MemberCheck sub-organisation, you may need to refresh the organisations associated with the Utility. To do this, go to Tools > Options and select the Organisation tab. This will automatically update the list of organisations from the MemberCheck server. Then click OK and a tab for the new Organisation will be displayed.
Batch Scanning
There are two ways to upload a batch file for automatic scanning:
- Via the Upload Utility interface, or
- Place the batch file into your local MemberCheck upload folder.
Upload via Utility Interface
- Select the To Upload button and the appropriate Organisation tab you want to run the batch scan against.
- Click the Add button.
- Browse and select the batch file (CSV or XML) you wish to scan.
The file will appear momentarily and then will be transferred to Uploaded.
Easily upload your batch file by drag and drop
You can drag and drop the required batch file into the Utility window whilst in the To Upload view.
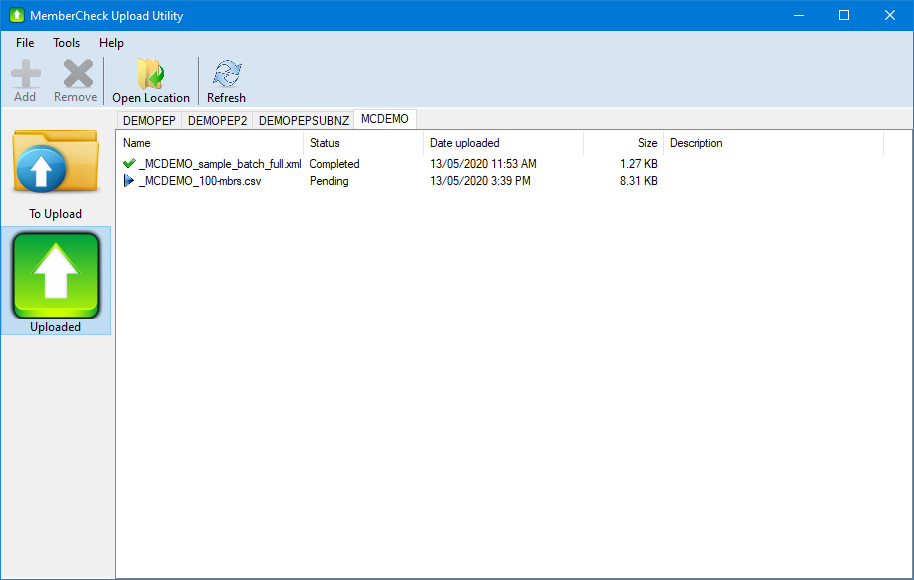
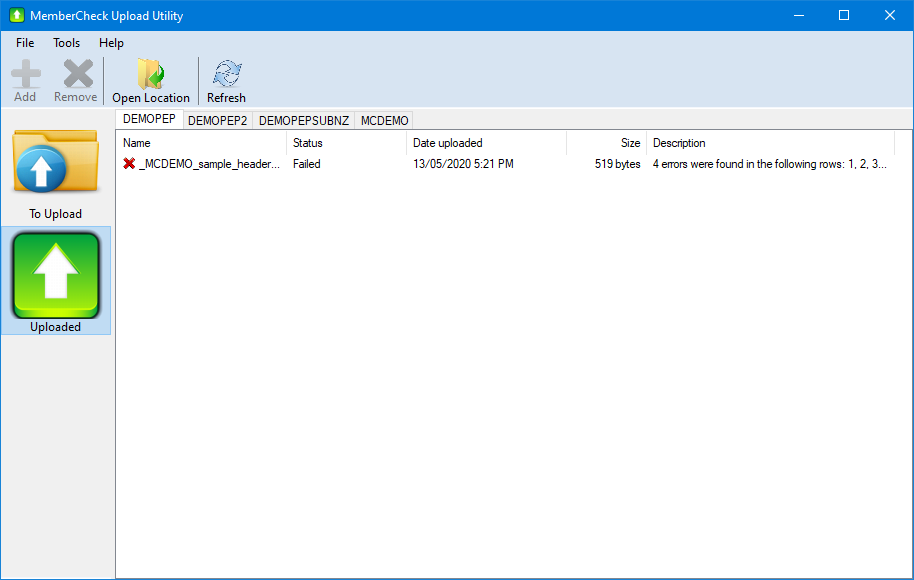
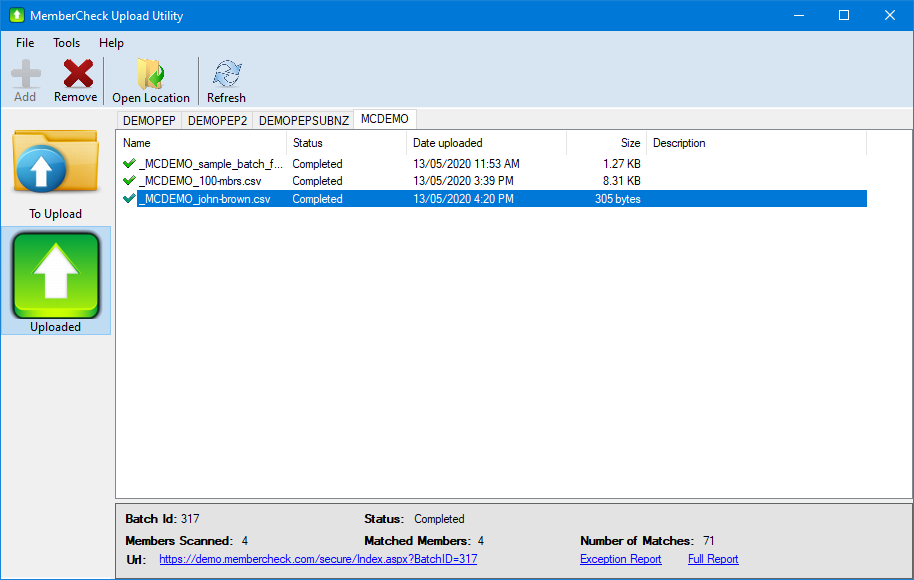
Click on Uploaded button, the file is displayed, with a corresponding icon:
 file is still being processed
 file has been processed successfully
 file has errors and is not able to be scanned
Examples of the different statuses:

Upload via Upload Folder
Go to the local folder specified in the Working Directory during installation e.g.
C:\MemberCheck UploadIf you have multiple organisations, a folder will be displayed for each organisation.
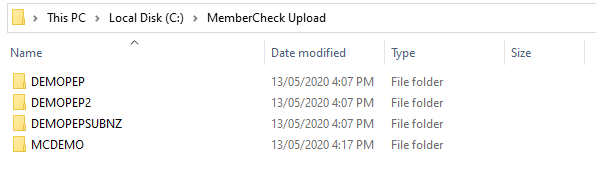
Open the appropriate Organisation folder.
Download,ToUploadandUploadedfolders will be displayed.The
Downloadfolder will be displayed if you have previously downloaded the Exception or Full Reports in the Utility.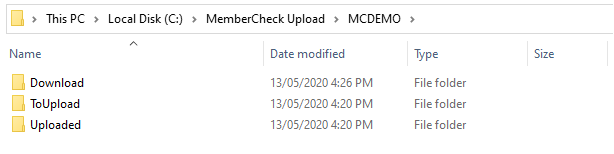
Copy the batch file (CSV or XML) you wish to scan to the
ToUploadfolder.- The
ToUploadfolder is a watched folder and all files placed in it will be uploaded to the MemberCheck site for scanning. - Once uploaded, files are moved to the
Uploadedfolder. - The result of the batch scan can be viewed in the Batch Scan History section of the MemberCheck site.
Status and Results of Batch Scan
- Select the batch file
A pane as the bottom of the window displays details of the batch scan including:
- Batch ID
- Status -
Pending,CompletedorFailed - If Status is
Completed:- Number of Members Scanned
- Number of Matched Members
- Total Number of Matches
- URL - link to the Exception Report in the Batch Scan > History section of the MemberCheck site
- Exception Report - opens a copy of the Exception Report in CSV format
- Full Report - opens a copy of the Full Report in CSV format
For information on the formatting of batch files, please refer to CSV File Format for Member Batches or XML File Format for Member Batches.
You may also wish to download sample templates of the batch files.